Looking to refresh your walls without draining your wallet? Floral wall art is one of the easiest and most timeless ways to breathe life into your home—especially when you DIY it.
Whether you’re a fan of minimalist styles or full-blown botanical statements, this list of 23 DIY floral wall art projects will inspire your next home makeover.
These ideas are not only budget-friendly but also customizable, letting you infuse your personality into every petal and stem.
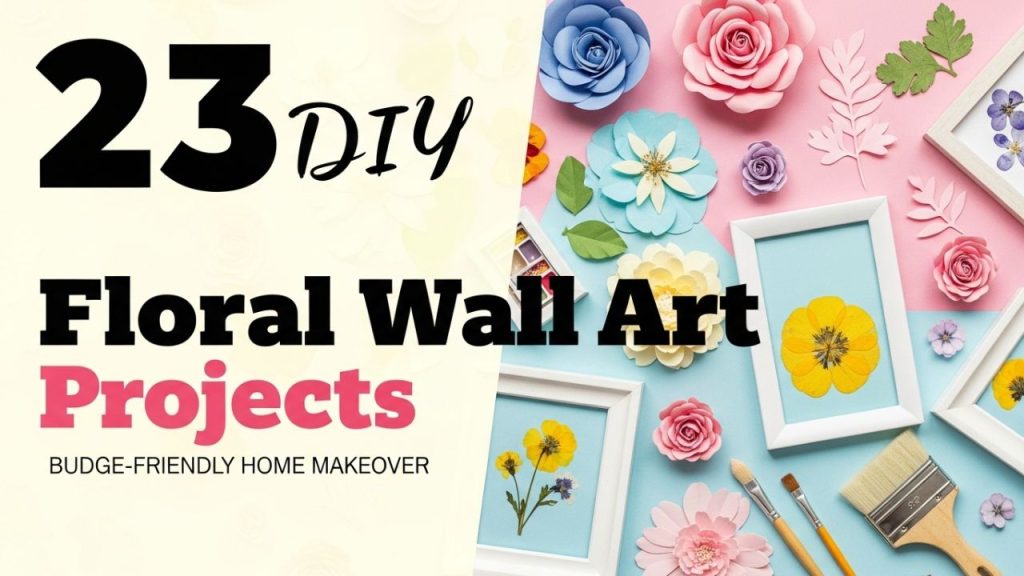
Table of Contents
1. Pressed Flower Frame Art
Why it works: It’s simple, natural, and adds an organic elegance.
How to do it:
- Collect flowers (ideally fresh and flat like pansies or ferns).
- Press them between parchment in heavy books for a week.
- Place them between two glass sheets or inside a floating frame.
What not to do: - Don’t use bulky flowers—they won’t press well.
- Avoid moisture; it can mold your flowers.
2. 3D Paper Flower Wall Grid
Why it works: Adds texture and depth without the mess of real plants.
How to do it:
- Cut different flower shapes from colored cardstock.
- Use a hot glue gun to layer petals and build dimension.
- Attach them to a metal or wood wall grid.
What not to do: - Don’t use regular paper—it’ll wilt over time.
- Don’t overcomplicate the colors—stick to 2–3 tones.
3. DIY Floral Embroidery Hoop Art
Why it works: Blends rustic charm with floral elegance.
How to do it:
- Stretch plain or patterned fabric in a hoop.
- Arrange faux flowers and greenery around the edges.
- Glue or stitch in place for extra strength.
What not to do: - Don’t overcrowd—let fabric show through.
- Avoid heavy flowers that can droop.
4. Watercolor Flower Canvas
Why it works: Soft, artistic, and looks store-bought.
How to do it:
- Use light pencil sketches first.
- Watercolor using gentle strokes and layer gradually.
- Frame or hang as-is.
What not to do: - Don’t oversaturate the paper—it buckles.
- Avoid too many contrasting colors.
5. Faux Flower Wall Hanging
Why it works: Makes a statement piece without daily care.
How to do it:
- Tie faux flowers to strings.
- Attach the strings to a wooden dowel or curtain rod.
- Hang vertically on the wall.
What not to do: - Don’t use weak glue—opt for floral wire or strong twine.
- Avoid mixing flower styles randomly.
6. Framed Botanical Prints with Real Leaves
Why it works: It’s minimalist and elegant, fitting into modern decor.
How to do it:
- Collect flat leaves or stems.
- Mount them on white or black paper with double-sided tape.
- Frame in a clean-lined frame.
What not to do: - Don’t overcrowd the frame.
- Avoid leaves with sap or moisture.
7. Fabric Flower Collage
Why it works: Brings a soft texture and cozy feel to walls.
How to do it:
- Cut flower shapes from old clothes or scraps.
- Arrange them on canvas or cardboard.
- Stitch or glue them into place.
What not to do: - Don’t forget to seal edges if fabric frays easily.
- Avoid mixing too many patterns.
8. Mason Jar Flower Shadow Box
Why it works: Adds a country touch with lots of dimension.
How to do it:
- Fill mini mason jars with artificial or dried flowers.
- Mount jars inside a deep shadow box frame.
- Add background paper or quotes for flair.
What not to do: - Don’t use real water—it will rot.
- Avoid jars that are too heavy for hanging.
9. Hanging Floral Wreath Wall Display
Why it works: Elegant, seasonal, and super customizable.
How to do it:
- Use metal or wood rings.
- Wrap with florals using floral tape or wire.
- Hang in clusters of three for best effect.
What not to do: - Don’t go symmetrical—vary sizes for interest.
- Avoid plastic-y looking florals.
10. DIY Flower Wall Decals
Why it works: It’s peel-and-stick magic—renter-friendly too!
How to do it:
- Design or download flower silhouettes.
- Cut using vinyl sheets and apply to wall.
What not to do: - Don’t stick to textured walls—they won’t stay.
- Avoid overly detailed shapes—they peel.
11. Dried Flower Canvas Art
Why it works: Long-lasting and wonderfully earthy.
How to do it:
- Dry flowers completely.
- Arrange and glue onto stretched canvas.
- Add a layer of mod podge or resin to seal.
What not to do: - Don’t use flowers that haven’t fully dried.
- Avoid thick resin layers unless confident.
12. Hanging Floral Ladder Display
Why it works: It brings vertical interest and height.
How to do it:
- Repurpose an old ladder.
- Wrap with flower garlands or attach bouquets.
- Lean against wall or hang horizontally.
What not to do: - Don’t overload—keep sections airy.
- Avoid toppling—secure if kids around.
13. Flower Mandala Art
Why it works: Centered, meditative beauty with great symmetry.
How to do it:
- Sketch a radial mandala layout.
- Fill with flower petals or motifs in layers.
- Use glue or paint depending on permanence.
What not to do: - Don’t skip planning your layout.
- Avoid cluttering the outer edges.
14. Floral String Art
Why it works: Unique texture and interactive dimension.
How to do it:
- Hammer nails in a floral shape on a wooden board.
- Wind string or thread around nails to build shape.
What not to do: - Don’t use weak thread—it’ll sag.
- Avoid random stringing—follow a pattern.
15. Recycled Magazine Flower Wall
Why it works: Colorful, budget-free, and eco-friendly.
How to do it:
- Cut flower shapes from magazines.
- Glue in overlapping patterns on cardboard.
- Frame or hang directly.
What not to do: - Don’t skip backing—it may curl.
- Avoid glossy pages that smudge easily.
16. Floral Macramé Wall Hanging
Why it works: Adds boho charm and natural softness.
How to do it:
- Create a basic macramé hanging.
- Weave or clip small flower stems into knots.
What not to do: - Don’t use wet flowers—they stain.
- Avoid placing it near vents or fans.
17. Flower Silhouette Shadow Painting
Why it works: Graphic yet elegant—great for gallery walls.
How to do it:
- Use flowers to trace shadow outlines.
- Fill in with dark paint, keep background light.
What not to do: - Don’t make the outlines too soft—contrast is key.
- Avoid messy brushwork.
18. Floral Pegboard Display
Why it works: Customizable layout and super practical.
How to do it:
- Use a pegboard and pegs or clips.
- Hang vases, faux flowers, mini bouquets.
What not to do: - Don’t ignore weight limits.
- Avoid cheap pegs—they break fast.
19. Botanical Quote Frame
Why it works: Blends words and nature—perfect for offices or bedrooms.
How to do it:
- Print a floral border.
- Add a hand-lettered or printed quote in center.
- Frame in glass.
What not to do: - Don’t overdo text size—it should breathe.
- Avoid dark backgrounds unless using white flowers.
20. Clay Flower Tile Art
Why it works: Adds artisan charm and permanence.
How to do it:
- Mold simple floral shapes from air-dry clay.
- Paint after drying and mount on board.
What not to do: - Don’t bake unless the clay is oven-safe.
- Avoid rushing drying—it may crack.
21. Flower Garland Name Art
Why it works: Personalized and charming—great for kids’ rooms.
How to do it:
- Cut letters from cardboard.
- Wrap in floral garlands or glue tiny blooms.
What not to do: - Don’t use too large flowers—they cover the letter shape.
- Avoid neon fake florals.
22. Vintage Book Page Flower Collage
Why it works: Literary + floral = timeless.
How to do it:
- Use torn book pages as background.
- Glue floral prints or petals in layers.
What not to do: - Don’t use sentimental books.
- Avoid smearing glue—it shows on pages.
23. Stenciled Floral Wall Mural
Why it works: Professional look, low skill needed.
How to do it:
- Use floral stencils and painter’s tape.
- Fill in with pastel or bold tones.
What not to do: - Don’t rush drying between layers.
- Avoid uneven pressure—paint bleeds.
Final Thoughts: Bring Nature Indoors Without Breaking the Bank
You don’t need to be an artist—or spend a fortune—to transform your space with stunning floral wall art.
These 23 DIY projects prove that budget-friendly makeovers can be both beautiful and personal.
Whether you love the romance of dried flowers, the boldness of painted canvases, or the charm of paper petals, there’s an idea here to match your style, skill level, and space.
What makes these projects work is their flexibility. You can scale them up for a large wall, adapt them for seasonal decor, or even gift them to a loved one.
Just remember to plan your layout, choose quality materials, and most importantly—enjoy the process.